Guide to Startup Script
After you run the startup script, you will be directed to the NodeJS CLI app that is used to handle all aspects of the architecture of the tool.
You can navigate between options using the Up/Down arrow keys on your keyboard and ENTER to select an option.
Back/Restore option
This option allows you to perform a full backup/restore of the Docker volumes discussed before containing all the assets used by the tool and the database contents.
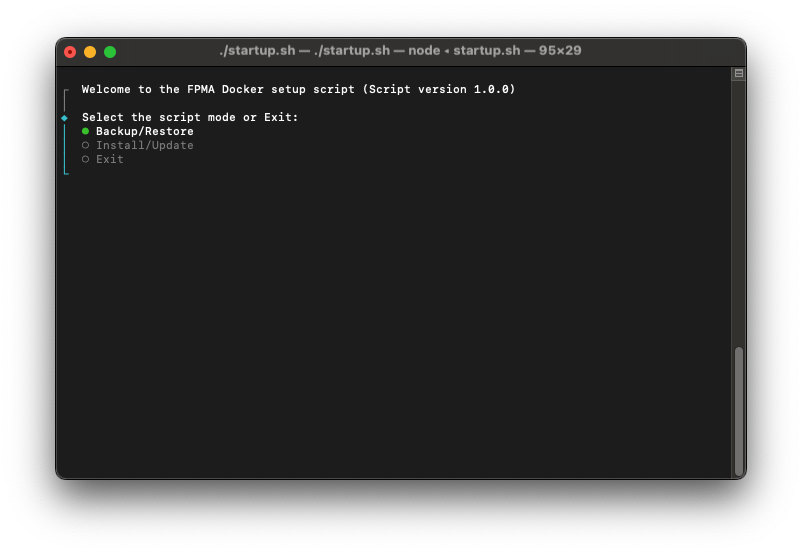
If you choose the Backup/Restore option, it will ask you to select whether you want to perform a backup or a restore.
Please note that the backup will automatically create a specific folder inside your directory and when restoring, it will fetch the data from that directory. It is not possible at the moment to select a specific backup to restore it. If you perform a backup again, it will overwrite any previous backup. You can arrange backups manually by creating other folders, then rename the folder to its original name “volume_backup” to restore it later.
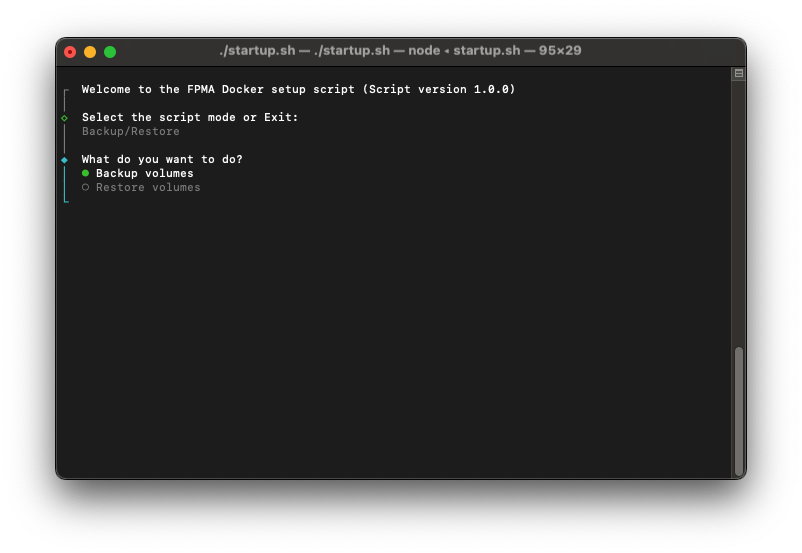
Backup
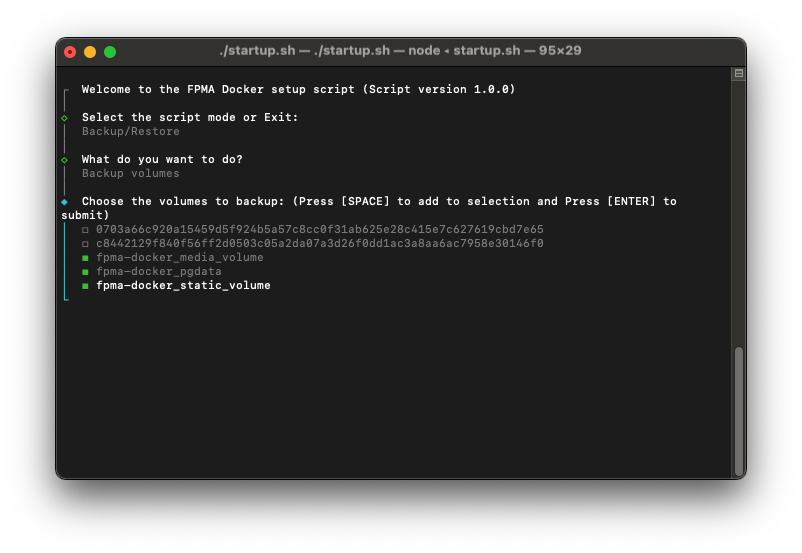
In the next step, you need to identify the 3 volumes used in the FPMA tool. Please refer to the previous guide Identifying the volumes containing the data inside the Migration from v4.0 guide. In this type of prompt, you can navigate using Up/Down keys on your keyboard, press SPACE to add/remove to selection, press ENTER to submit your response.
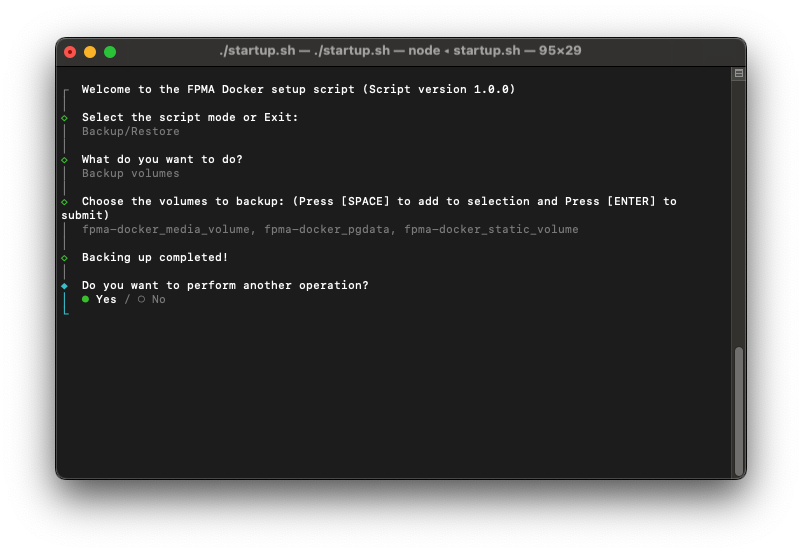
It will take a couple of minutes to perform the backup, then you will see a screen similar to the one below. You can click on Yes to go to the main screen, or No to exit the script and go back to your terminal.
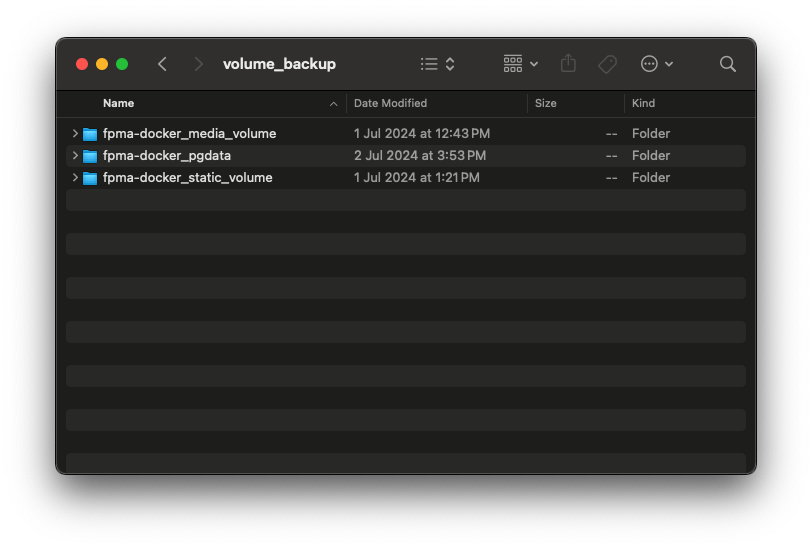
Here is an example of the backup directory created containing the data inside the 3 volumes.
Restore
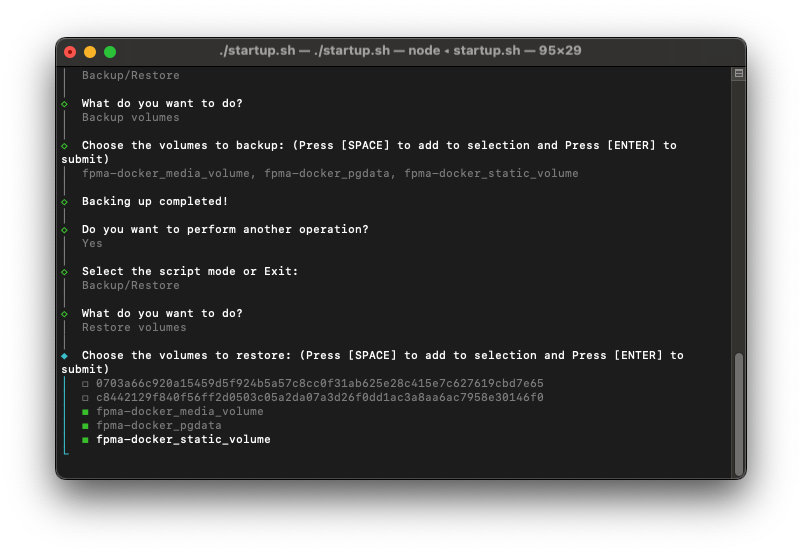
If you want to restore a previously taken backup, click on Restore in the second step, select the names of the volumes and make sure the names of these volumes match the names of the directory.
Install/Update option
This is the main option of the script. It is used to install the tool for the first time, check and perform updates, or just to run the tool if it is already installed.
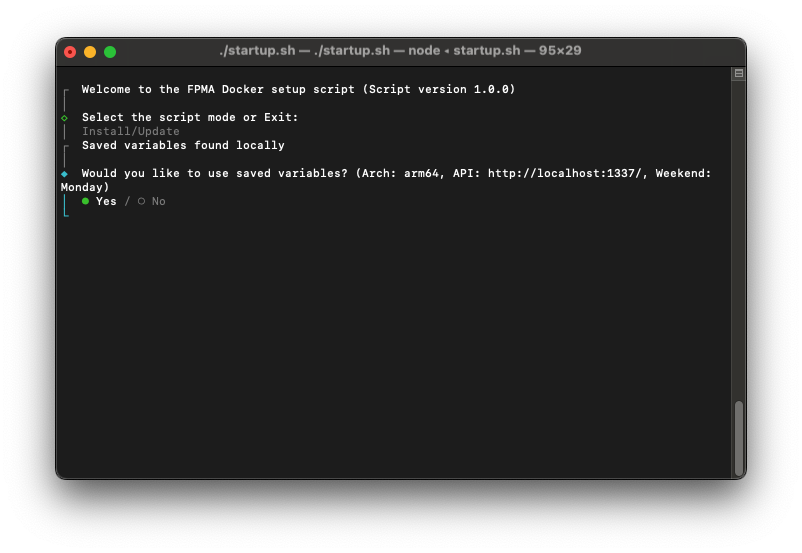
If it is not your first time running the script, you will see this option asking you to use a previously saved sets of configurations. If you see decide to use the saved configurations, you can skip the next step.
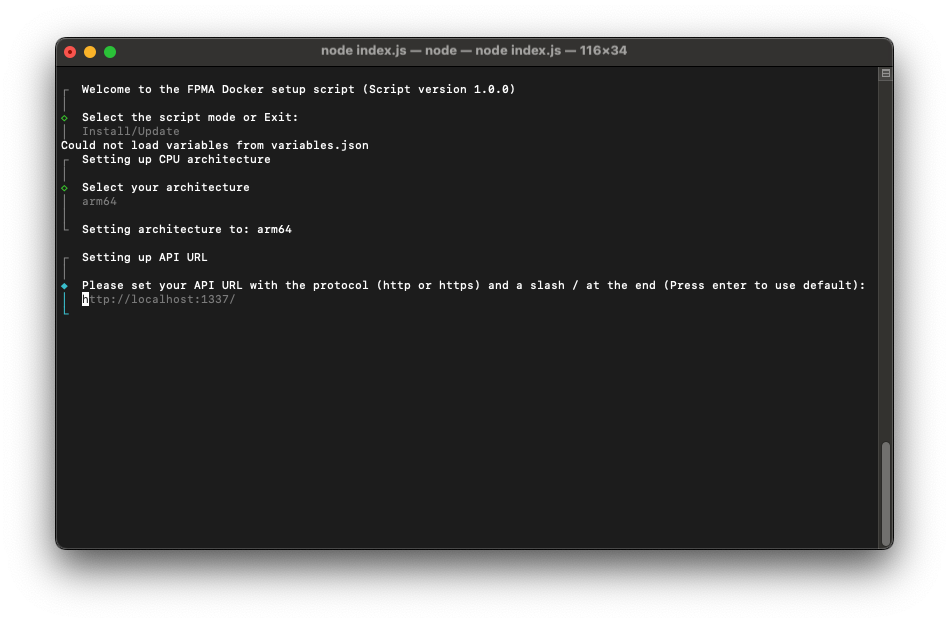
If it is your first time running the script, the script will walk you through 3 sets of settings needed for the tool to run correctly. These settings will be saved to be used later on in a file called variables.json.
1. CPU Architecture
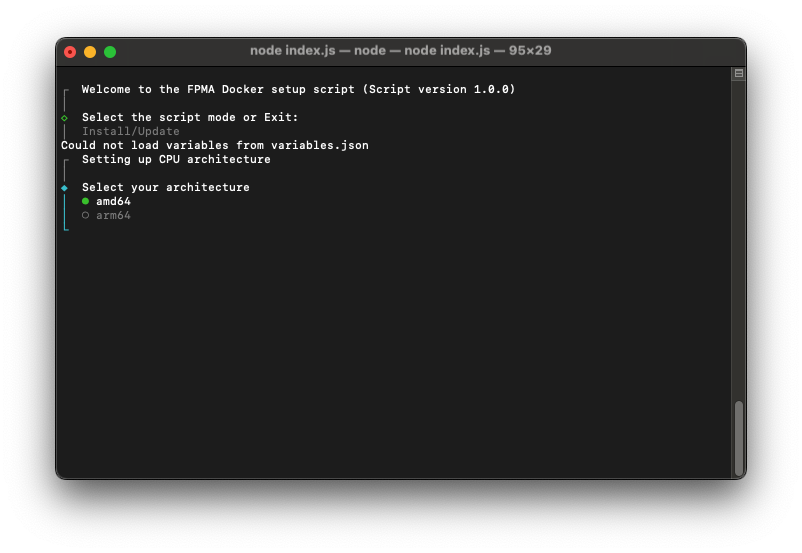
First option is to select your CPU architecture. The currently available architectures are amd64 and arm64. Make sure you select the correct architecture to avoid any failures during the process.
2. API URL
Second option is to set your API url, which is basically the final domain name that you will use as a full URL. You need to write the full url including the protocol (http or https) and a slash at the end. You can leave it empty to use the default value of https://localhost:1337/ if you intend to use it locally only.
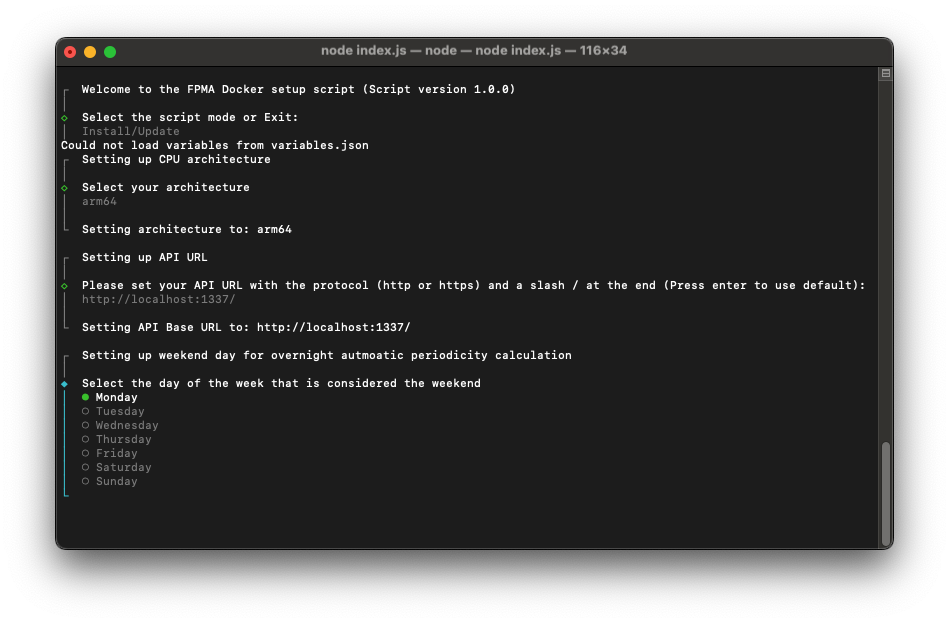
3. Weekend Day
Third option is to define the day that the tool should consider as the end of the week. Commonly, Friday is considered as the last day of the week, but you can change it based on your location. This option is used for some features inside the tool such as automatic calculations of periodicities where the tool automatically calculates weekly data from daily data if available, and monthly data from weekly/daily whichever is available.
Install/update process
In this step the script will start checking the docker images (if available) and it will automatically update them if there are any updates available. If they are not available, the script will download them. You should see something similar to below.
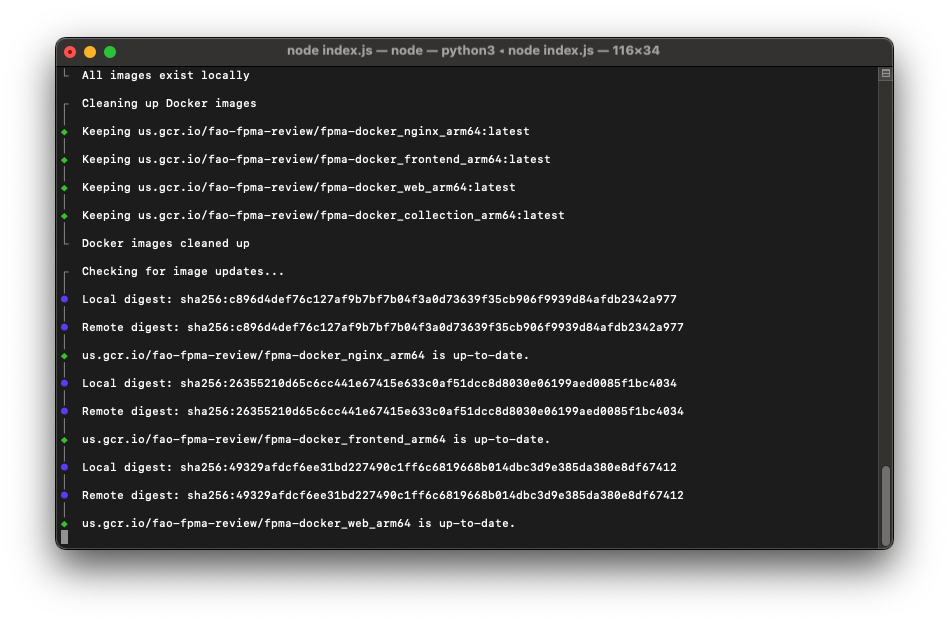
After installing/updating the images, the script will check the database version you have installed. If you have a PostgreSQL version that is less than 15, it means that you have the old version of the tool v4.0 and you will need to perform the major update to v4.1. The next steps will depend on these two scenarios.
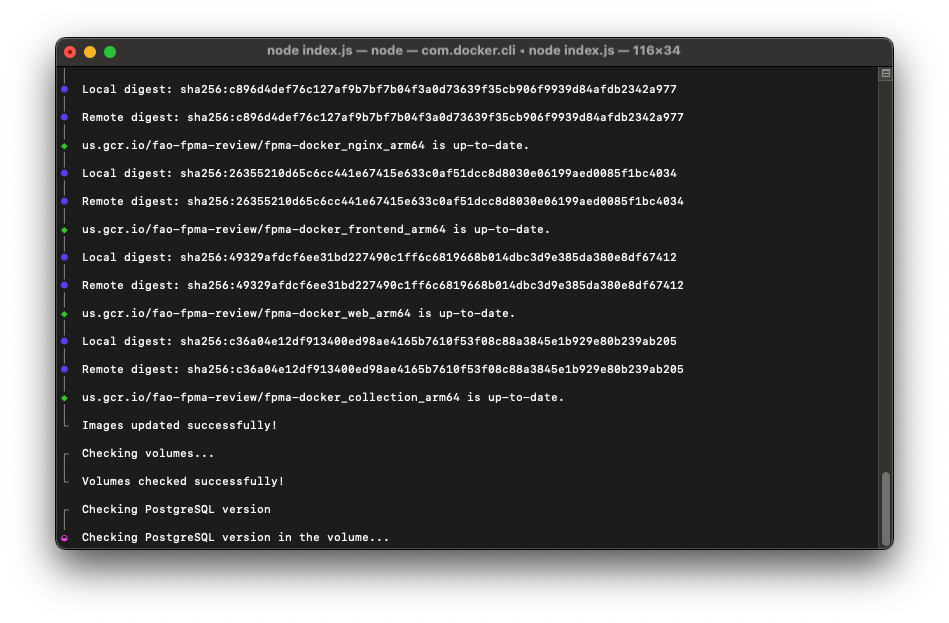
1. PostgreSQL version is up-to-date
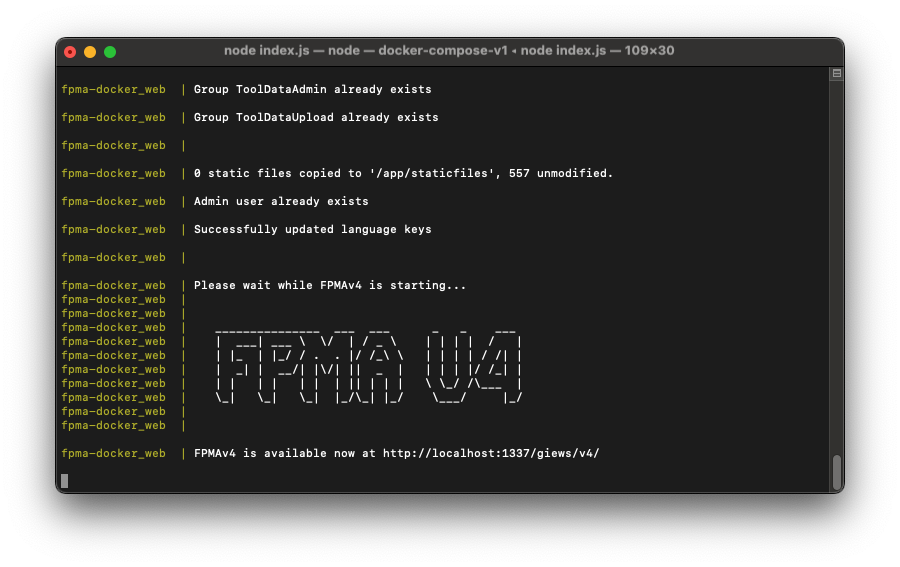
If you have the up-to-date version of the database, everything should run smoothly and after several minutes you should see something like this and it means that the tool is up and running.
2. Tool is outdated and needs to perform the update
If you had an old version of the tool v4.0 you will see the following
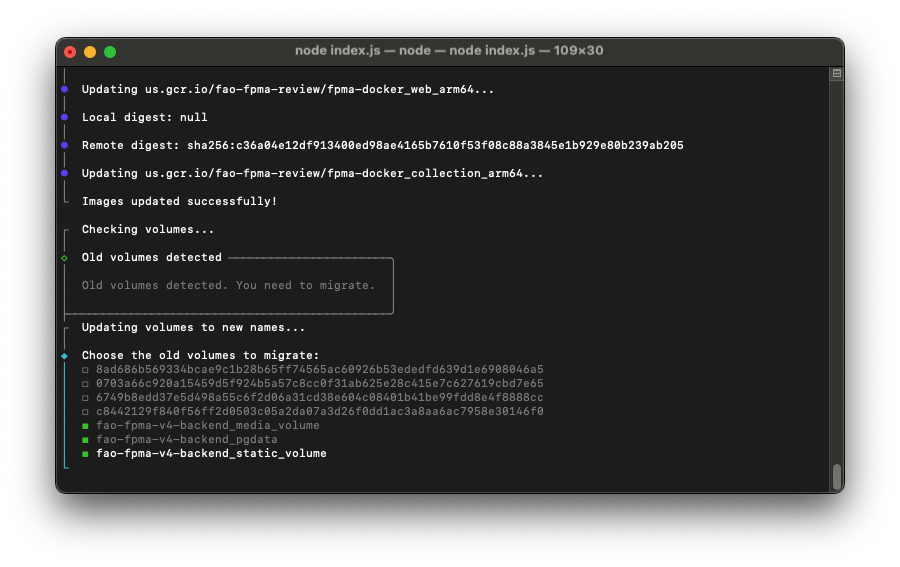
This step will appear automatically after the images check. During this step, you should already have the names of the volumes used in the FPMA tool from the previous tutorial. If you do not have them, please refer to the previous section of the documentation.
Please perform this part of the update with caution as there might be a risk of data loss. Doing necessary backups and choosing the correct options is your responsibility. If you need any assistance, please do not hesitate to contact as at fpma@fao.org.
After you select the correct 3 volumes, the script will automatically perform a backup, and then it will perform the migration successfully.
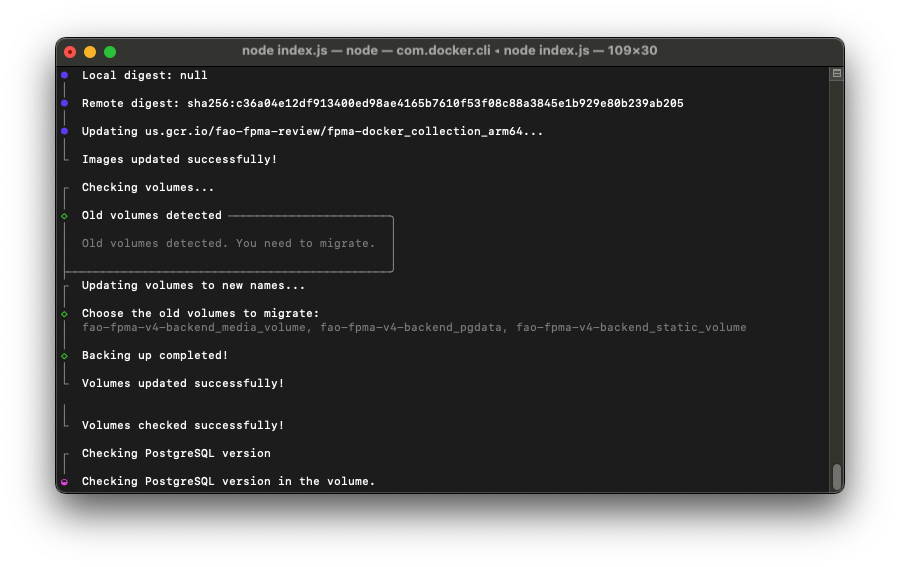
Now the script will check for the database version. Since you already had an older version of the volumes, you will have an older version of the database as both updates were released together as a part of the major update from v4.0 to v4.1.
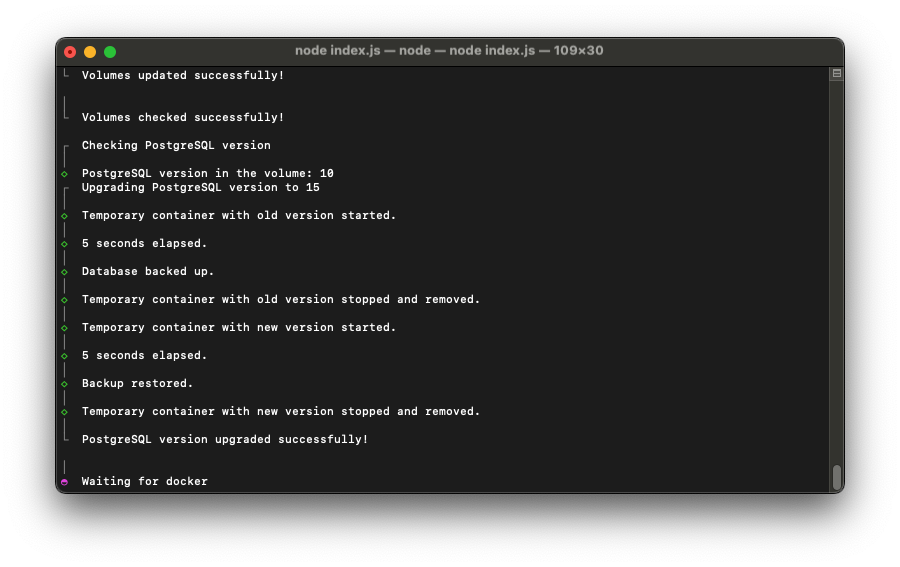
The script will then perform the necessary update to the database by creating a temporary container, copying the data from the old container, and then restoring it with the correct version which is PostgreSQL v15.
After several minutes you should see several prints in the output Applying … ok, and Successfully created group ….
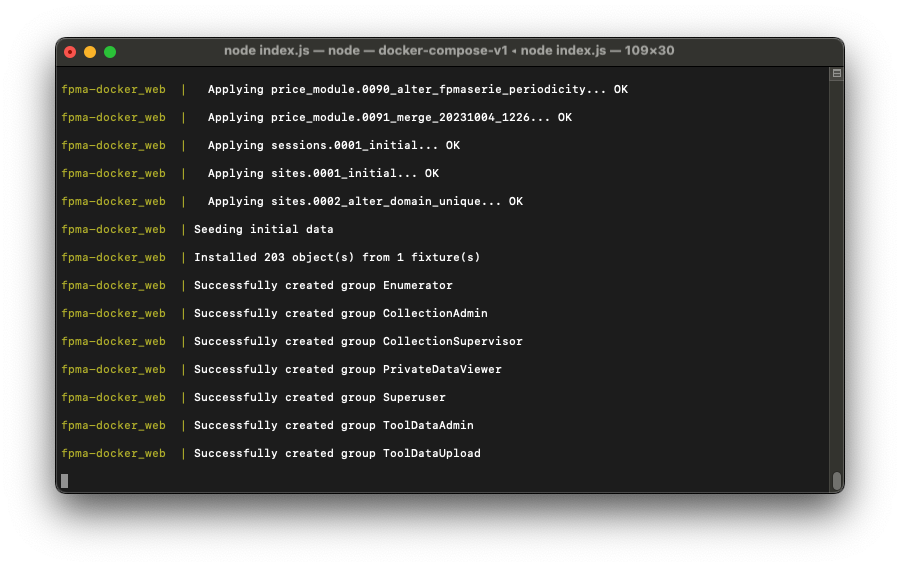
If you see an output similar to that, it means that the migration has been done successfully. If you see any errors similar to the below screenshot, it means that something went wrong during the update.
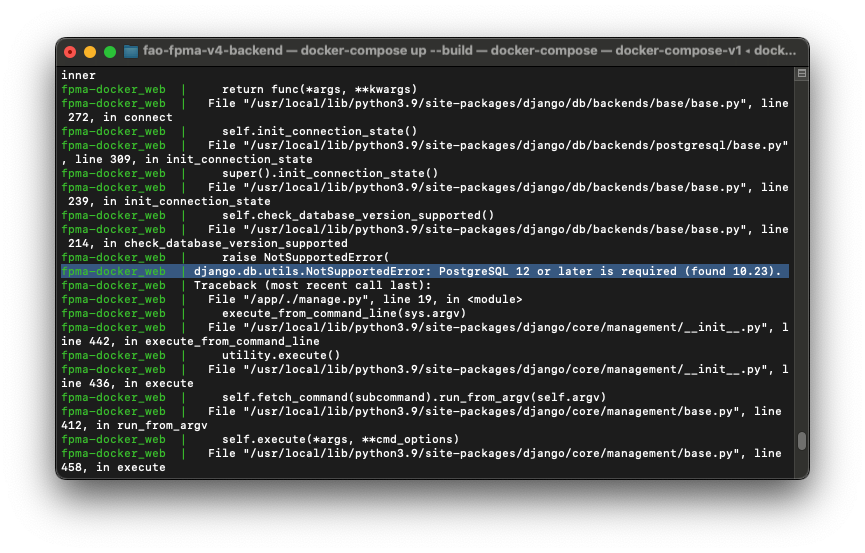
In that case, please run the script again and make sure that you ran every step correctly. If you are still facing issues, please do not hesitate to contact us at fpma@fao.org with the details of your issue.
Second run after performing the major update to v4.1
The second time you will re-run the script after the major update to v4.1, you will see the following during the process asking if you have performed the necessary update.
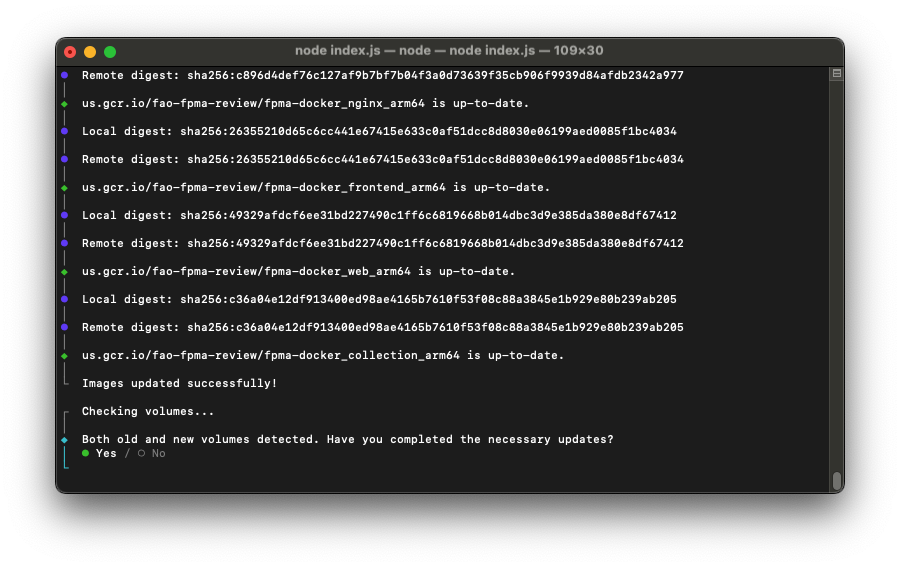
If you haven’t performed it, selecting No will take you to the previously explained process for the update.
If you have performed the update successfully, selecting Yes will take you to this next step to remove old unused volumes. It is not a required step as you can just press ENTER without selecting any volumes to remove, but it is recommended in general to constantly clean up your docker environment.
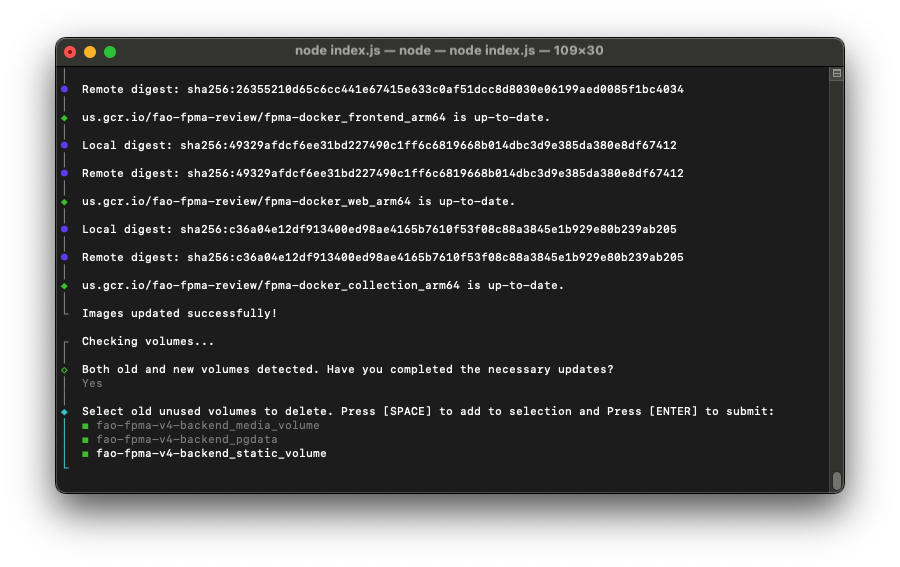
Exiting the script
Like any unix process, the startup script initiates a docker process. To exit the script, you can press CTRL+C on your keyboard only once, then wait for a couple of minutes for Docker to stop the containers and clean up the environment.
When you see the following message, it means that Docker has stopped all the containers.
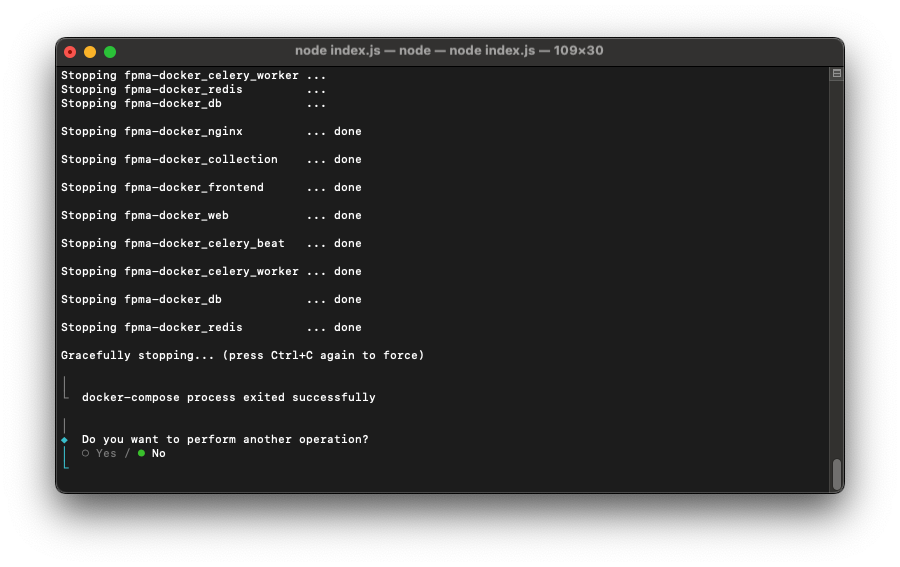
Now you can either select Yes to perform another operation and the script will take you to the main screen again.
Or you can select No to exit the script and go back to your terminal.